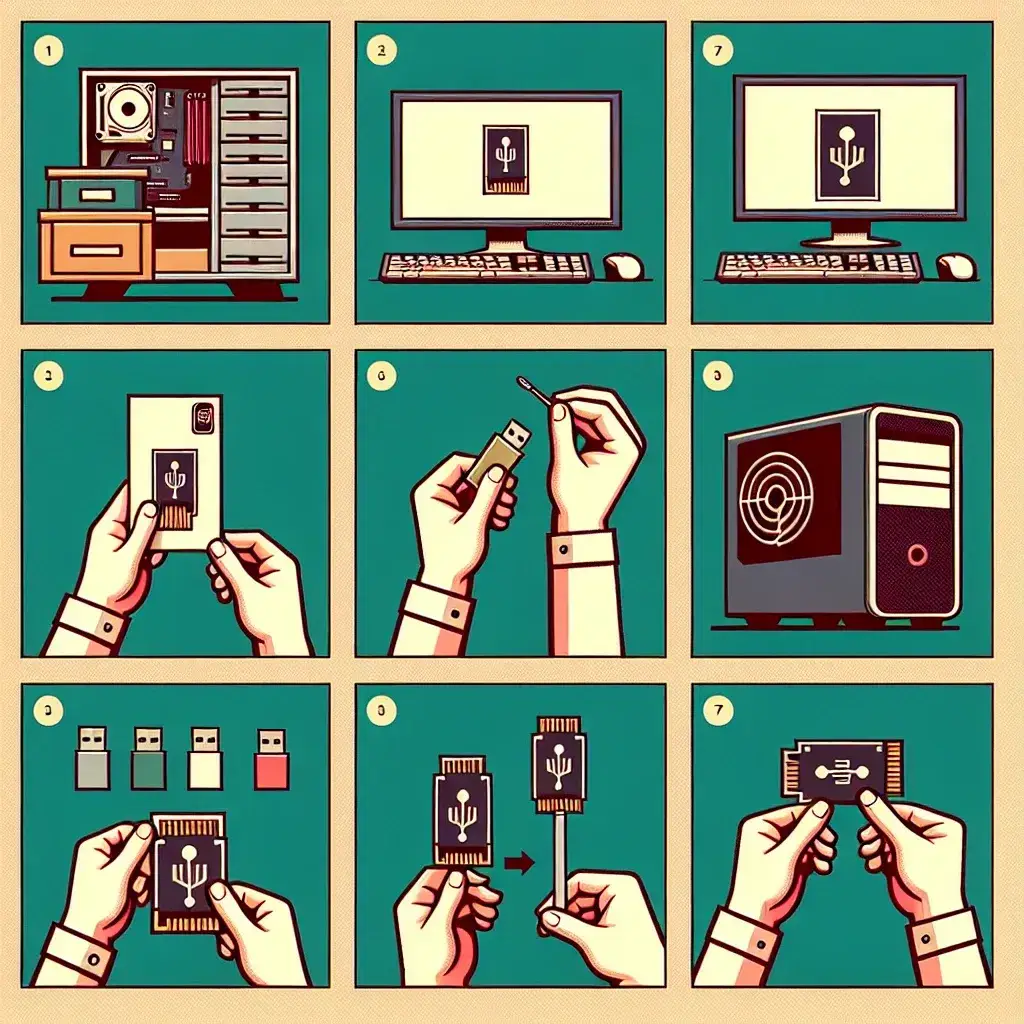
What are the steps to install a USB expansion card?
Installing a USB expansion card can provide the additional USB ports you need for connecting more devices. This guide will walk you through the steps required to install a USB expansion card into your desktop computer.
Tools You’ll Need
- Phillips-head screwdriver
- Anti-static wrist strap
- USB expansion card
Step-by-Step Guide
1. Power Down and Unplug the Computer
Before you begin, make sure to turn off your computer and unplug all power sources. This ensures your safety and prevents any electrical damage to your computer components.
2. Open the Computer Case
Use the Phillips-head screwdriver to remove the screws securing the side panel of your computer case. Put the screws in a safe place, as you will need them to reassemble the case later.
3. Ground Yourself
To prevent static electricity from damaging sensitive components, wear an anti-static wrist strap. Attach the other end of the strap to a metal part of the computer case.
4. Identify the PCIe Slot
Look for an available PCIe slot on your motherboard. PCIe slots are typically located near the bottom of the motherboard. Refer to your motherboard’s manual to make sure you identify the correct slot.
5. Remove the Expansion Slot Cover
Using your screwdriver, remove the expansion slot cover that corresponds with the PCIe slot you will use. Keep the cover and screws handy, as you might need them again in the future.
6. Insert the USB Expansion Card
Align the USB expansion card with the PCIe slot. Gently but firmly push the card into the slot until it is securely seated. Ensure the metal bracket on the card aligns properly with the screw holes of the expansion slot.
7. Secure the Card
Use the screws you removed from the expansion slot cover to secure the metal bracket of the USB expansion card to the case. This will keep the card in place and ensure a stable connection.
8. Close the Computer Case
Carefully reattach the side panel of your computer case and secure it with the screws you removed earlier. Make sure all screws are tightened to avoid any rattling or loose connections.
9. Plug in the Power and Peripherals
Reconnect the power cable and any other peripheral devices you unplugged earlier. Power on your computer to proceed with the installation.
10. Install any Necessary Drivers
Once your computer boots up, the operating system might automatically detect the new USB expansion card. If not, insert the driver CD that came with the card and follow the on-screen instructions to install the necessary drivers.
11. Test the USB Ports
After the drivers have been installed, test the new USB ports by plugging in a USB device. If the device is recognized, then you have successfully installed the USB expansion card.
Summary
| Step | Description |
|---|---|
| 1 | Power Down and Unplug |
| 2 | Open Case |
| 3 | Ground Yourself |
| 4 | Identify PCIe Slot |
| 5 | Remove Expansion Slot Cover |
| 6 | Insert Card |
| 7 | Secure Card |
| 8 | Close Case |
| 9 | Plug and Power On |
| 10 | Install Drivers |
| 11 | Test USB Ports |
Conclusion
Installing a USB expansion card is a straightforward process that can greatly enhance your computer’s connectivity options. By following the steps outlined in this guide, you can ensure a hassle-free installation and quickly start benefiting from the additional USB ports.